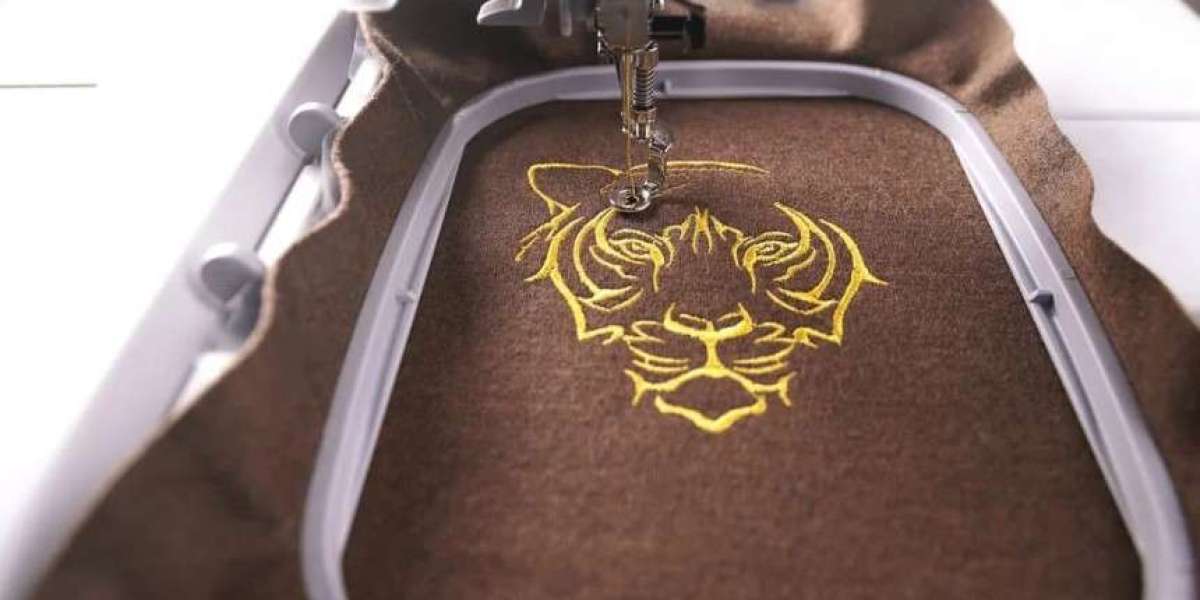
In the world of custom design and personalized fashion, embroidery holds a special place. From elegant monograms on shirts to vibrant artwork stitched onto jackets and caps, embroidery transforms ordinary items into unforgettable pieces. But behind every beautiful design lies a powerful process known as embroidery digitizing.
So, what exactly is embroidery digitizing, and how does it turn your creative ideas into stunning threaded masterpieces? Let’s dive in and explore this fascinating fusion of art and technology.
What is Embroidery Digitizing?
Embroidery digitizing is the process of converting artwork or images into a digital format that an embroidery machine can read and stitch. Unlike a standard image file like a JPG or PNG, embroidery machines require specific file formats (like DST, PES, EXP) that include detailed instructions such as:
- Stitch type (satin, fill, running)
- Stitch direction and angle
- Density and underlay
- Thread color order
It’s not just about copying the design it’s about interpreting it in a way that looks good when stitched on fabric. Think of it like translating a painting into a form the embroidery machine understands.
Why Embroidery Digitizing Matters
Digitizing isn’t just a technical step it’s where creativity meets precision. A well-digitized design ensures:
- Clean lines and edges
- Accurate color representation
- Reduced thread breaks
- Balanced tension on the fabric
- Faster and smoother machine performance
On the other hand, a poorly digitized file can ruin a garment with puckering, gaps, or tangled thread. That’s why it’s crucial to get this part right especially for professional results.
How the Digitizing Process Works
Whether you're a designer, business owner, or hobbyist, understanding the steps of embroidery digitizing can help you better appreciate what goes into every stitch.
1. Prepare the Artwork
The first step is choosing the right image. Vector files (like AI, SVG, or EPS) are best, but high-resolution JPG or PNG files also work. The cleaner the image, the easier it is to digitize.
2. Import Into Digitizing Software
Specialized software like Wilcom, Hatch, or Embird is used to create the stitch file. This is where the magic happens. The digitizer manually assigns stitch types, directions, and sequence based on the design’s shapes.
3. Assign Stitch Properties
Every section of the design is mapped with stitches:
- Satin stitch for borders and text
- Fill stitch for large areas
- Running stitch for fine details and outlines
The digitizer also sets parameters like stitch density and underlay to ensure the thread sits well on the chosen fabric.
4. Preview and Test
A digital simulation is generated to check the stitch flow, order, and color transitions. Test runs are typically done on fabric to catch any real-world issues before final production.
5. Export to Embroidery File Format
Finally, the digitized file is exported into a format compatible with the embroidery machine—such as PES for Brother, DST for Tajima, or EXP for Melco machines.
Custom Embroidery Digitizing for Businesses
If you run a clothing brand, promotional merchandise company, or embroidery business, custom digitizing is your secret weapon. Your logo, slogan, or graphic can be digitized and applied to uniforms, hats, bags, or any textile.
High-quality digitizing helps you:
- Maintain brand consistency
- Impress clients with sharp designs
- Reduce machine downtime
- Deliver products faster
Pro tip: Work with experienced digitizers who understand different fabrics and thread behavior to get the best results for every item.
Should You DIY or Hire a Pro?
DIY Digitizing
If you're creative and tech-savvy, digitizing software gives you full control. It’s a great option for hobbyists or small-scale projects. However, there's a learning curve, and mistakes can cost you time and materials.
Professional Digitizing Services
For businesses and anyone short on time, professional services offer expert results without the hassle. Just upload your artwork and receive a ready-to-use file within 12–24 hours.
Recommended:
- Absolute Digitizing: Offers affordable, high-quality embroidery digitizing for all machine formats.
- Digitizing Buddy: Known for great customer support and quick turnaround times.
Choosing the Right Digitizing Format
Different machines require different file types. Make sure you know which one your embroidery machine uses before you start.
File Format | Used By | Notes |
PES | Brother, Babylock | Popular and widely used |
DST | Tajima, many commercial machines | Industry standard |
EXP | Melco | Clean and efficient |
JEF | Janome | User-friendly |
VP3 | Husqvarna, Pfaff | High-end machines |
Your digitizing service or software should give you the right output format based on your needs.
Tips for Great Digitizing Results
Start with a simple design – Avoid overly complex images for your first project
Use contrast – Bold colors and clear outlines work best in thread
Keep text readable – Minimum size for legibility is around 0.25 inches
Know your fabric – Some materials require extra stabilization
Always test – Stitch a sample before running a full batch
Final Thoughts: From Concept to Creation
Embroidery digitizing is where design becomes reality. It’s the bridge between your imagination and your machine where colors, textures, and lines are turned into threadwork that lasts.
Whether you're digitizing a company logo, a personal monogram, or a custom piece of art, remember that great embroidery starts with great digitizing.
And if you're looking to turn your next idea into a threaded masterpiece, working with experts like Absolute Digitizing ensures quality, consistency, and beautiful results every time.